Part One - A Quick TourUPDATE: (09 April 2007)
It's come to my attention that there needs to be a minor tweak to this tutorial. The RLA functionality between After Effect 7 and Lightwave seems to be 'broken'. For now, use the RPF Image Filter instead of RLA. I'll be doing a complete rewrite at some point in the near future, including updated functionality.
UPDATE: Since writing this, I've added a second short overview, showing a Real World (tm) example of adding a title to a scene with The RLA Exporter...
Click here to skip ahead...
Note: This is just a quick example of controlling Lightwave's RLA information in After Effect.
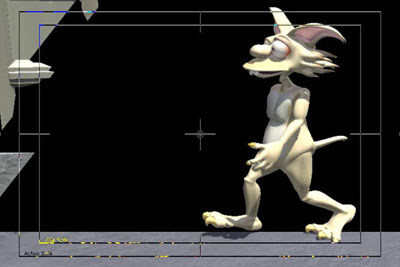
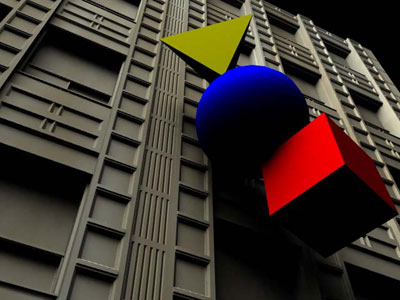
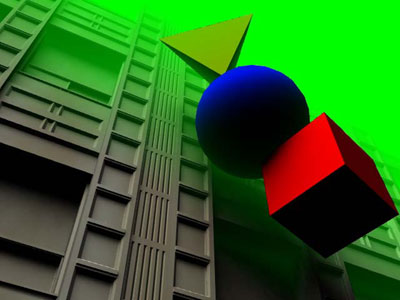
First off, the image rendered in Lightwave 7.5 contains 4 objects, each with a different surface name. The image was saved using the RLA export feature added under the image processing panel in LW. It was rendered with a single area light, no DOF (depth of field), and is more functional than pretty.
Once rendered, I created a new composition in After Effects 5.5, and imported the image, using the premultiplied matte.
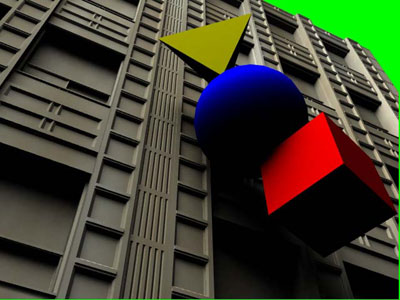
Behind this image (the layer below the image), I placed a green solid, just so things would stand out fairly well. I don't think you need to see what a green solid looks like, but here's what the two look like comped.
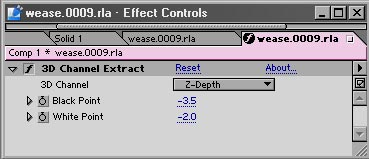
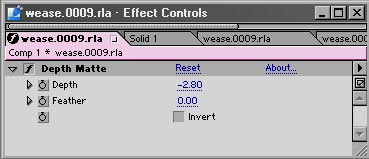
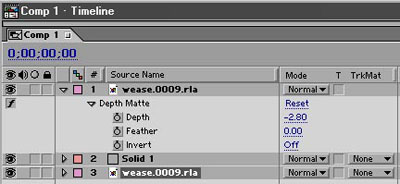
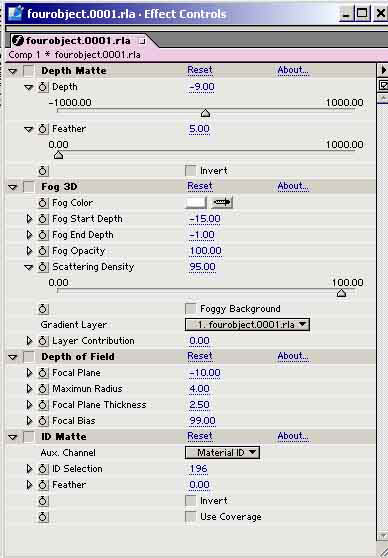
Now for the fun part. To save time, I'm just going to show the effects panel from After Effects. Each of the effects can be found under the Effects -> 3D Channel pulldown menu. Obviously, the effects are applied to the RLA image, and not the green square :)
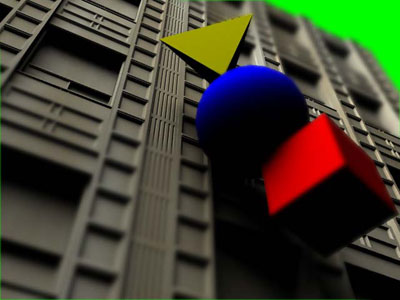
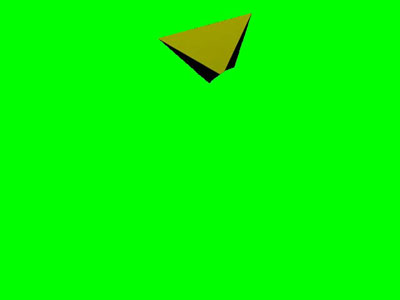
Depth MatteThe first effect is the depth matte. When applied without a feather, it looks something like this...
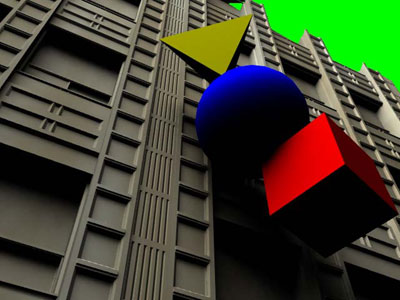
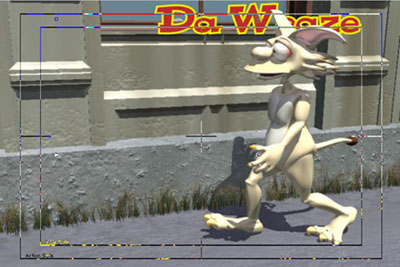
As you can see, the top of the building is being clipped out. By adjusting the slider, you can change it's position, and you can also apply a feather to it, like this...
As you can see, the background colour is creeping in behind the forground square, and the feather tool does a nice job of it.
3D FogThe next feature is 3D Fog. It's pretty straight forward as well. Basically, using the depth data, you can apply a simple colour fog to the image, such as this...
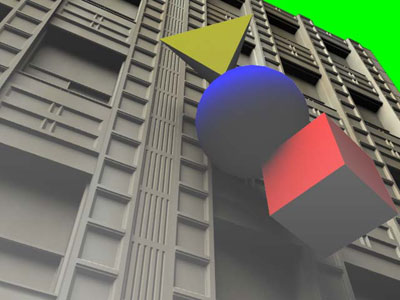
There are options to apply gradients, and other funky features, but I'll leave that to you to explore.
Depth of FieldThis one is a little cooler. Instead of rendering DOF in LW, or using a 3rd party plug-in, you can just fix it in post. Now, I'll be the first to agree that this kind of DOF is in NO way as accurate as real, rendered DOF, but you know what? Who cares? Seriously. For some work, real DOF is an important issue, especially for higher resolution work, such as film or print. But for a lot of video resolution stuff, it's not that important. It can enhance
Personally, I feel that DOF is a camera artifact that many cinematographers try to overcome as much as possible in most shots. In certain cases, DOF can be used as a storytelling technique (or when done badly, a gimmick), but having everything crisp to start off with is much better than being stuck with stuff that's too out of focus to start with.
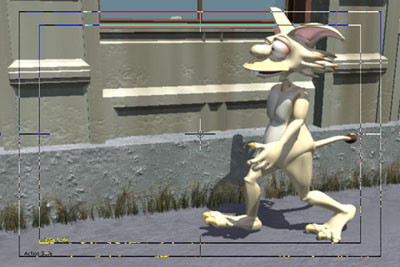
Anyhow, here's an After Effects DOF image. :)
The DOF feature doesn't take into account occlusion (the colour of objects behind foreground objects when applying the blur). That can be limiting in some instances, but at the same time, it is more than up to the task for many jobs. For example, if you have a landscape background rendered in a separate layer from foreground objects/characters, it's a lot faster and easier to control in AE than it is to test renders, and have to redo scenes in LW.
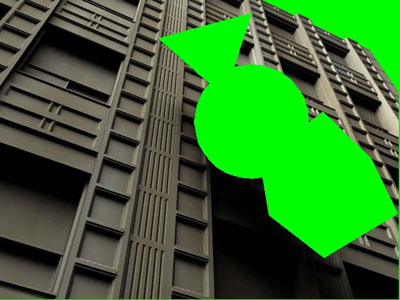
ID MatteThis is a pretty cool one as well, and needs a little explanation before getting to it. Firstly, there are a couple of issues with selecting objects. I couldn't figure out how to get it to work. I'm not sure if this is an issue with LW's RLA export or AE's ID Matte plug-in, however. If you change the option in AE from Object ID to Material ID, it seems to work well, however.
Also, once you apply the effect, you must click on the image (while the effect is still highlighted) to select the material info you want to extract. In this first example, I've clicked on the building, and you can see that it matted fine.
Just for fun, here's what it looks like when the triangle is selected.
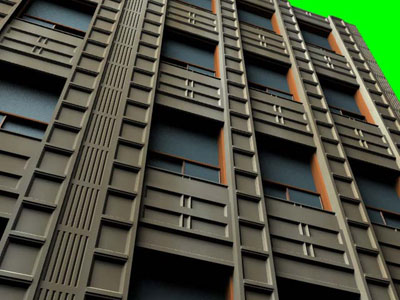
Now, what about a single object with multiple materials? Funny you ask that, because the original version of the building had multiple surfaces (materials). There is the concrete of the structure, the window sills, and two separate glass surfaces, one for the big upper windows, and one for the smaller windows that open and close. Here's what the original looks like...
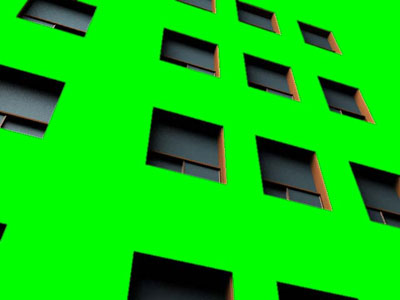
Now, if I selected just the concrete surface (material), this is what it looks like.
Like many effects in AE, you can invert your selection, which makes it look like this...
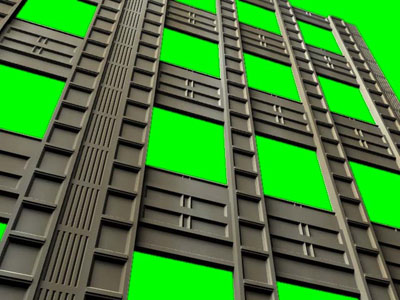
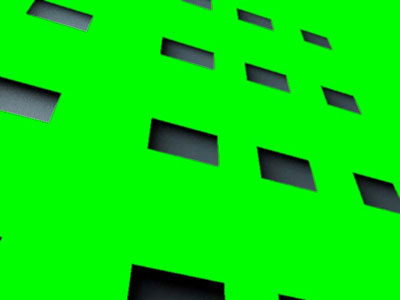
Finally, if I select the window surface alone, this is what the ID Matte looks like...
In Conclusion:Although there seems to be some limitations to the actual RLA export (and I haven't tested it in a renderfarm environment), it does serve quite a few functions when working with AE. Most of these matting effects also allow you to feather edges (see the AE Effects panel above), and since it's just another effect, you can do all sorts of crazy stuff in post. In the end, I like the feature a LOT, but of course I would like to see it expanded.
UPDATE: Click here to see the newly added Part Two, a quick project example.
Well, that about does it for this quick trip through Lightwave's RLA export and After Effects 5.5. Let me know if you've enjoyed this by dropping me a line at
doug@dougplanet.comLabels: after effects, lightwave, Newtek, tutorial